
5 Common DIY Painting Mistakes and How to Avoid Them
A fresh coat of paint can transform any room, but many homeowners attempting DIY painting for the first time run into common problems that ruin the finish and waste time. At P&F Painting Solutions, we’ve corrected many DIY mistakes in homes across Hampshire and Surrey.
This article explores the five most frequent DIY painting issues we see, including what causes them and how to avoid them. Whether you’re updating a small bathroom or taking on a full room repaint, this guide provides expert advice, clear examples, and professional insights so your next project turns out beautifully from the start.
We’ll also answer common decorating questions like how to remove paint from carpet, how to make paint dry faster, and how to cut in when painting. If you’re planning a job and need guidance, you’re in the right place.
Why Do DIY Painting Mistakes Happen So Often?
It’s easy to think painting is a simple task – until you see streaks, bubbling paint, or messy edges once everything dries. Most paint problems and solutions boil down to one thing: lack of preparation.
Professional decorators spend more time preparing surfaces than painting them. This includes sanding, filling, priming, and ensuring the right paint and tools are used in the correct conditions. Missing any of these steps almost guarantees you’ll see problems like flaking, uneven colour, or mould.
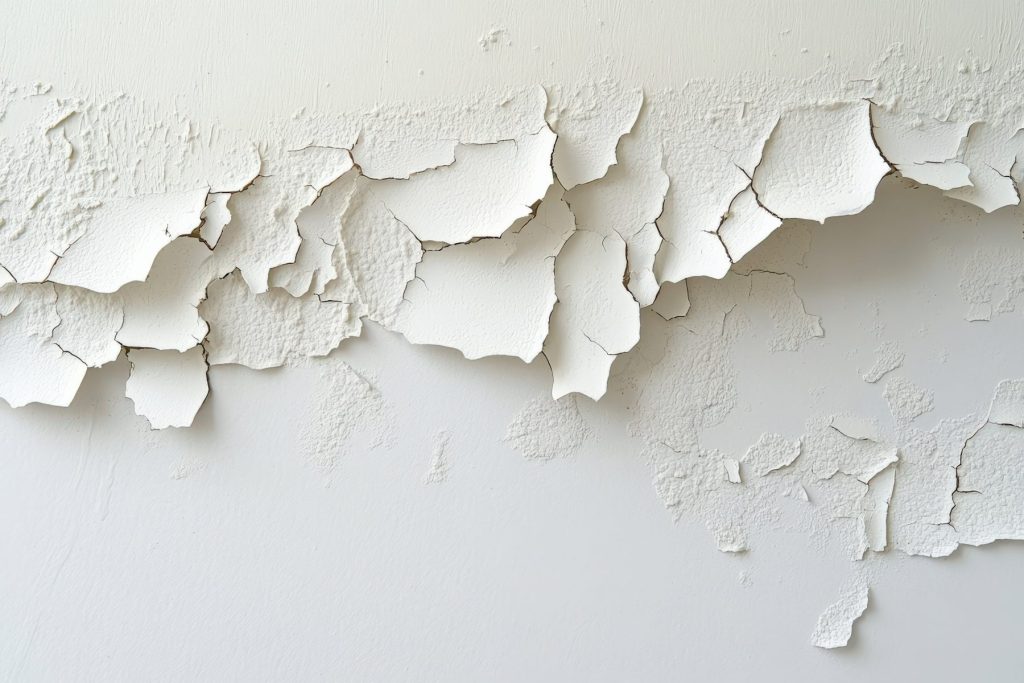
Mistake 1, Skipping Surface Preparation
Poor surface prep is the most common DIY error. Painting over dusty, greasy, or damaged walls will stop paint from adhering properly. You’ll likely see peeling or uneven texture within weeks.
Avoid this mistake by:
- Washing walls with sugar soap
- Sanding surfaces to smooth out imperfections
- Filling cracks and holes
- Applying primer when needed
Need help getting this right? See our guide on how to prepare your home for painting and decorating .
Mistake 2, Using the Wrong Paint or Tools
Every surface and room requires specific paints and finishes. Kitchens, bathrooms, and high-traffic hallways need moisture-resistant and durable coatings. Using the wrong product often leads to flaking or water damage.
Avoid this mistake by:
- Choosing washable paint for hallways
- Using mould-resistant paint in kitchens or bathrooms
- Selecting weatherproof coatings for exterior work
Explore our full interior painting services and exterior painting advice to select the right paint for each room.
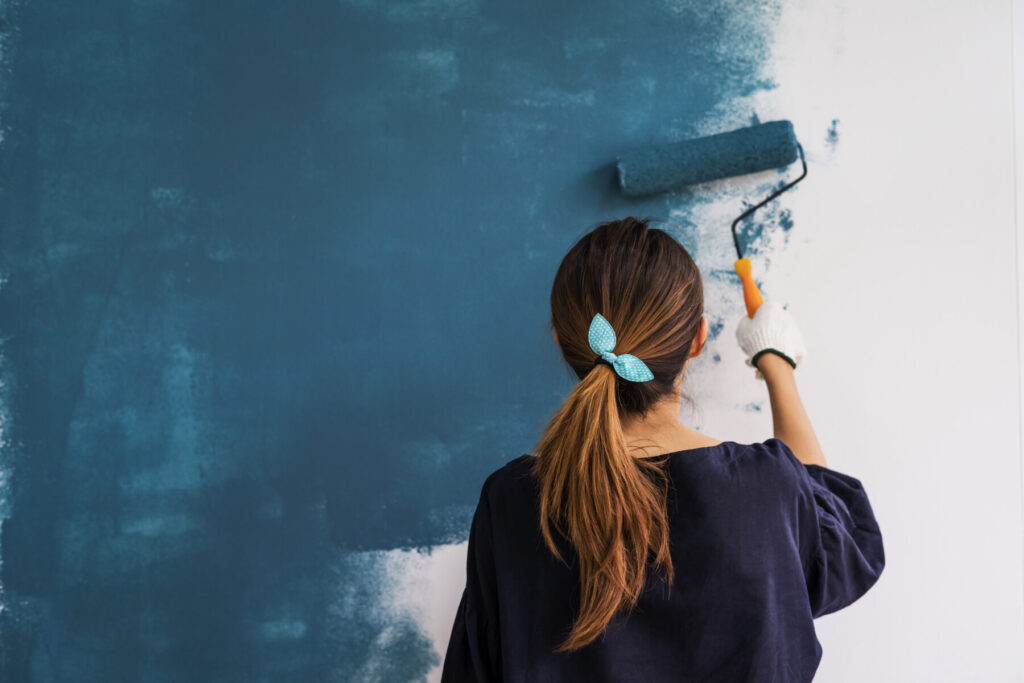
Mistake 3, Uneven Application & Roller Marks
Many DIYers overload their rollers or don’t keep a wet edge, resulting in visible roller marks or a patchy sheen. Inconsistent cutting-in around trim and ceiling lines also leads to untidy results.
Avoid this mistake by:
- Applying two thin coats, not one thick coat
- Using premium brushes and rollers
- Keeping a “wet edge” while rolling
- Cutting in with patience and precision
Our team handles tricky details like ceiling painting and skirting and trim work with precision tools and methods.
Mistake 4, Ignoring Drying Times & Room Conditions
Painting in cold, damp conditions is a common error, especially in older homes with poor ventilation. This traps moisture and results in bubbling or cracking.
Avoid this mistake by:
- Painting when temperatures are between 10-25°C
- Ventilating rooms or using dehumidifiers
- Allowing 2-4 hours between coats, as directed
We plan all work around local conditions. See our exterior painting service for more on timing and weather considerations.
Mistake 5, Underestimating Complex Features
Painting feature walls, staircases, or kitchen cabinets may seem like simple tasks but often expose the limits of DIY ability. Mistakes here are highly visible and difficult to fix.
Our feature wall design and painting service gives bold, professional finishes. Similarly, staircase and bannister painting and kitchen cabinet repainting require specialist tools for smooth, durable results.
Bonus Tips from the Pros
Here are answers to common DIY decorating questions we often receive from clients:
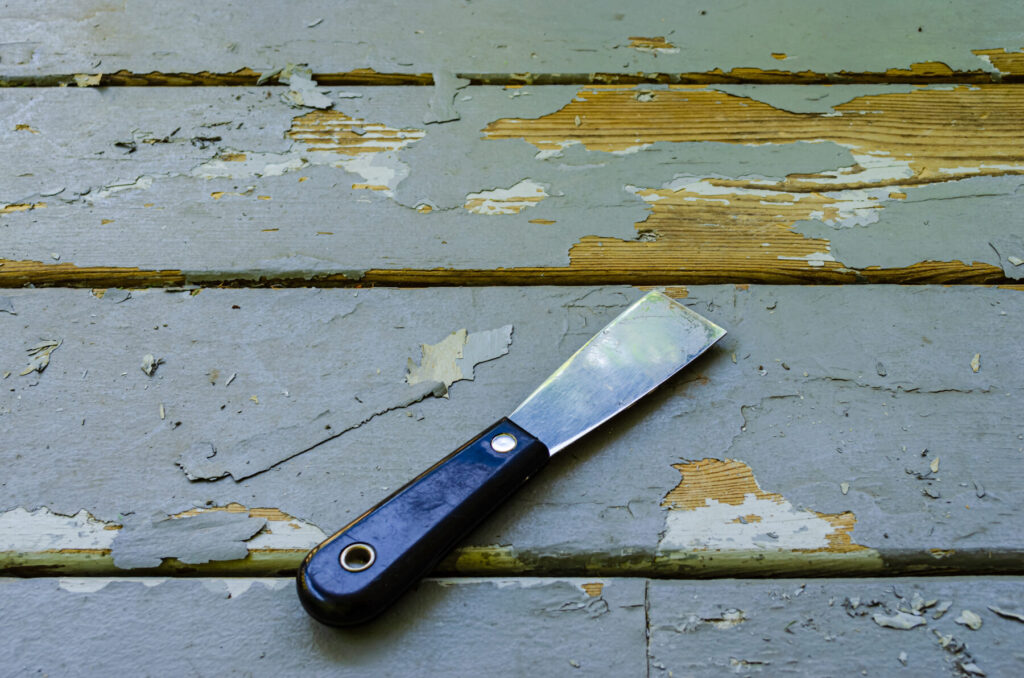
How do I remove paint from carpet?
Act quickly. Use a blunt knife to lift wet paint. Then:
- Blot with warm water and washing-up liquid
- For emulsion, use a vinegar-water mix
- For gloss, apply white spirit (test first)
- Avoid rubbing – blot gently
How can I make paint dry faster?
Speed up drying with:
- Good ventilation – open windows or use a fan
- Dehumidifiers for humid days
- Using fast-drying or low-VOC paints
- Applying thin coats only
Eco options are available. Read about our eco-friendly painting solutions that also dry quicker and produce less odour.
How do I cut in when painting a room?
“Cutting in” means painting the edges where roller cannot reach. For a clean line:
- Use a short-handled angled brush
- Load only the tip with paint
- Work slowly along skirting or ceiling
- Use painter’s tape if unsure
If you’re not confident, leave it to the experts. We provide seamless transitions between surfaces and trims in all decorating services .
Real Results From Real Projects
Our team has handled projects across the region, including a full overnight redecoration for Bill’s Restaurant in Guildford, completed outside trading hours with zero disruption. Read our commercial decorating case study to learn how experience matters, especially under pressure.
Another client’s feedback: ‘Having moved into a new house we had some new shelving built and I found Alex at P&F painting solutions. He responded rapidly to my enquiry and his communication was excellent. We had a discussion about paint colours and the work was completed in a timely manner. He was polite, punctual and showed great attention to detail. We were very happy with the finished results’
Still Unsure Whether to DIY or Hire a Pro?
If you’re decorating a single small room, DIY can work with the right prep. But if your project involves:
- Ceilings
- Feature walls
- High-traffic areas
- Kitchen or bathroom refurbishments
- Rental or commercial properties
…it’s worth exploring our full painting and decorating services and letting us help.
We offer transparent quotes, tailored solutions, and availability to begin most jobs within two weeks.
DIY Painting Mistakes FAQs
Peeling is usually caused by poor surface prep or painting over damp surfaces. Scrape off loose paint, sand the area, apply primer, then repaint.
It depends on the condition of the old surface. Glossy or flaking paint should be sanded and cleaned to ensure adhesion. Skipping this step often leads to peeling or patchy results.
Use mould-resistant, water-based satin or eggshell paint designed for high-moisture environments. These resist peeling and mildew.
Use a high-quality roller, apply consistent pressure, and always keep a wet edge. Don’t let sections dry before finishing adjacent areas.
Check the paint tin, but typically 2-4 hours for water-based paints. Ensure the first coat is fully dry to avoid dragging and uneven sheen.
Priming is essential on new plaster, bare surfaces, or after filling and repairs. It ensures even absorption and prevents discolouration.
Use matte for ceilings and low-traffic areas, satin or eggshell for living spaces, and gloss or semi-gloss for woodwork and kitchens.
Use warm soapy water for water-based paints and white spirit for oil-based. Clean immediately after use to extend tool life.
Use an angled brush and steady hand. Work slowly and use painter’s tape for extra support if you’re new to it.
Generally, paint the ceiling first, then walls, then trim. This ensures neater edges and reduces time spent masking or retouching.
Get Your Free Decorating Quote Today
Avoid the stress and mess of DIY mistakes. At P&F Painting Solutions, we help homeowners across Hampshire and Surrey get the finish they want, quickly, cleanly, and to the highest standards.
Contact us now to arrange your free quote. You can also explore real-life advice and ideas in our blog or check out our testimonials to see why local clients trust us.